Home > Resources > Gaming Headset Guide
How Should Brands Plan Packaging for a 2.4GHz Gaming Headset?
A practical B2B guide to specifying, sampling and approving retail packaging for a private-label 2.4GHz gaming headset and its transmitter, microphone, cables, labels and documentation.
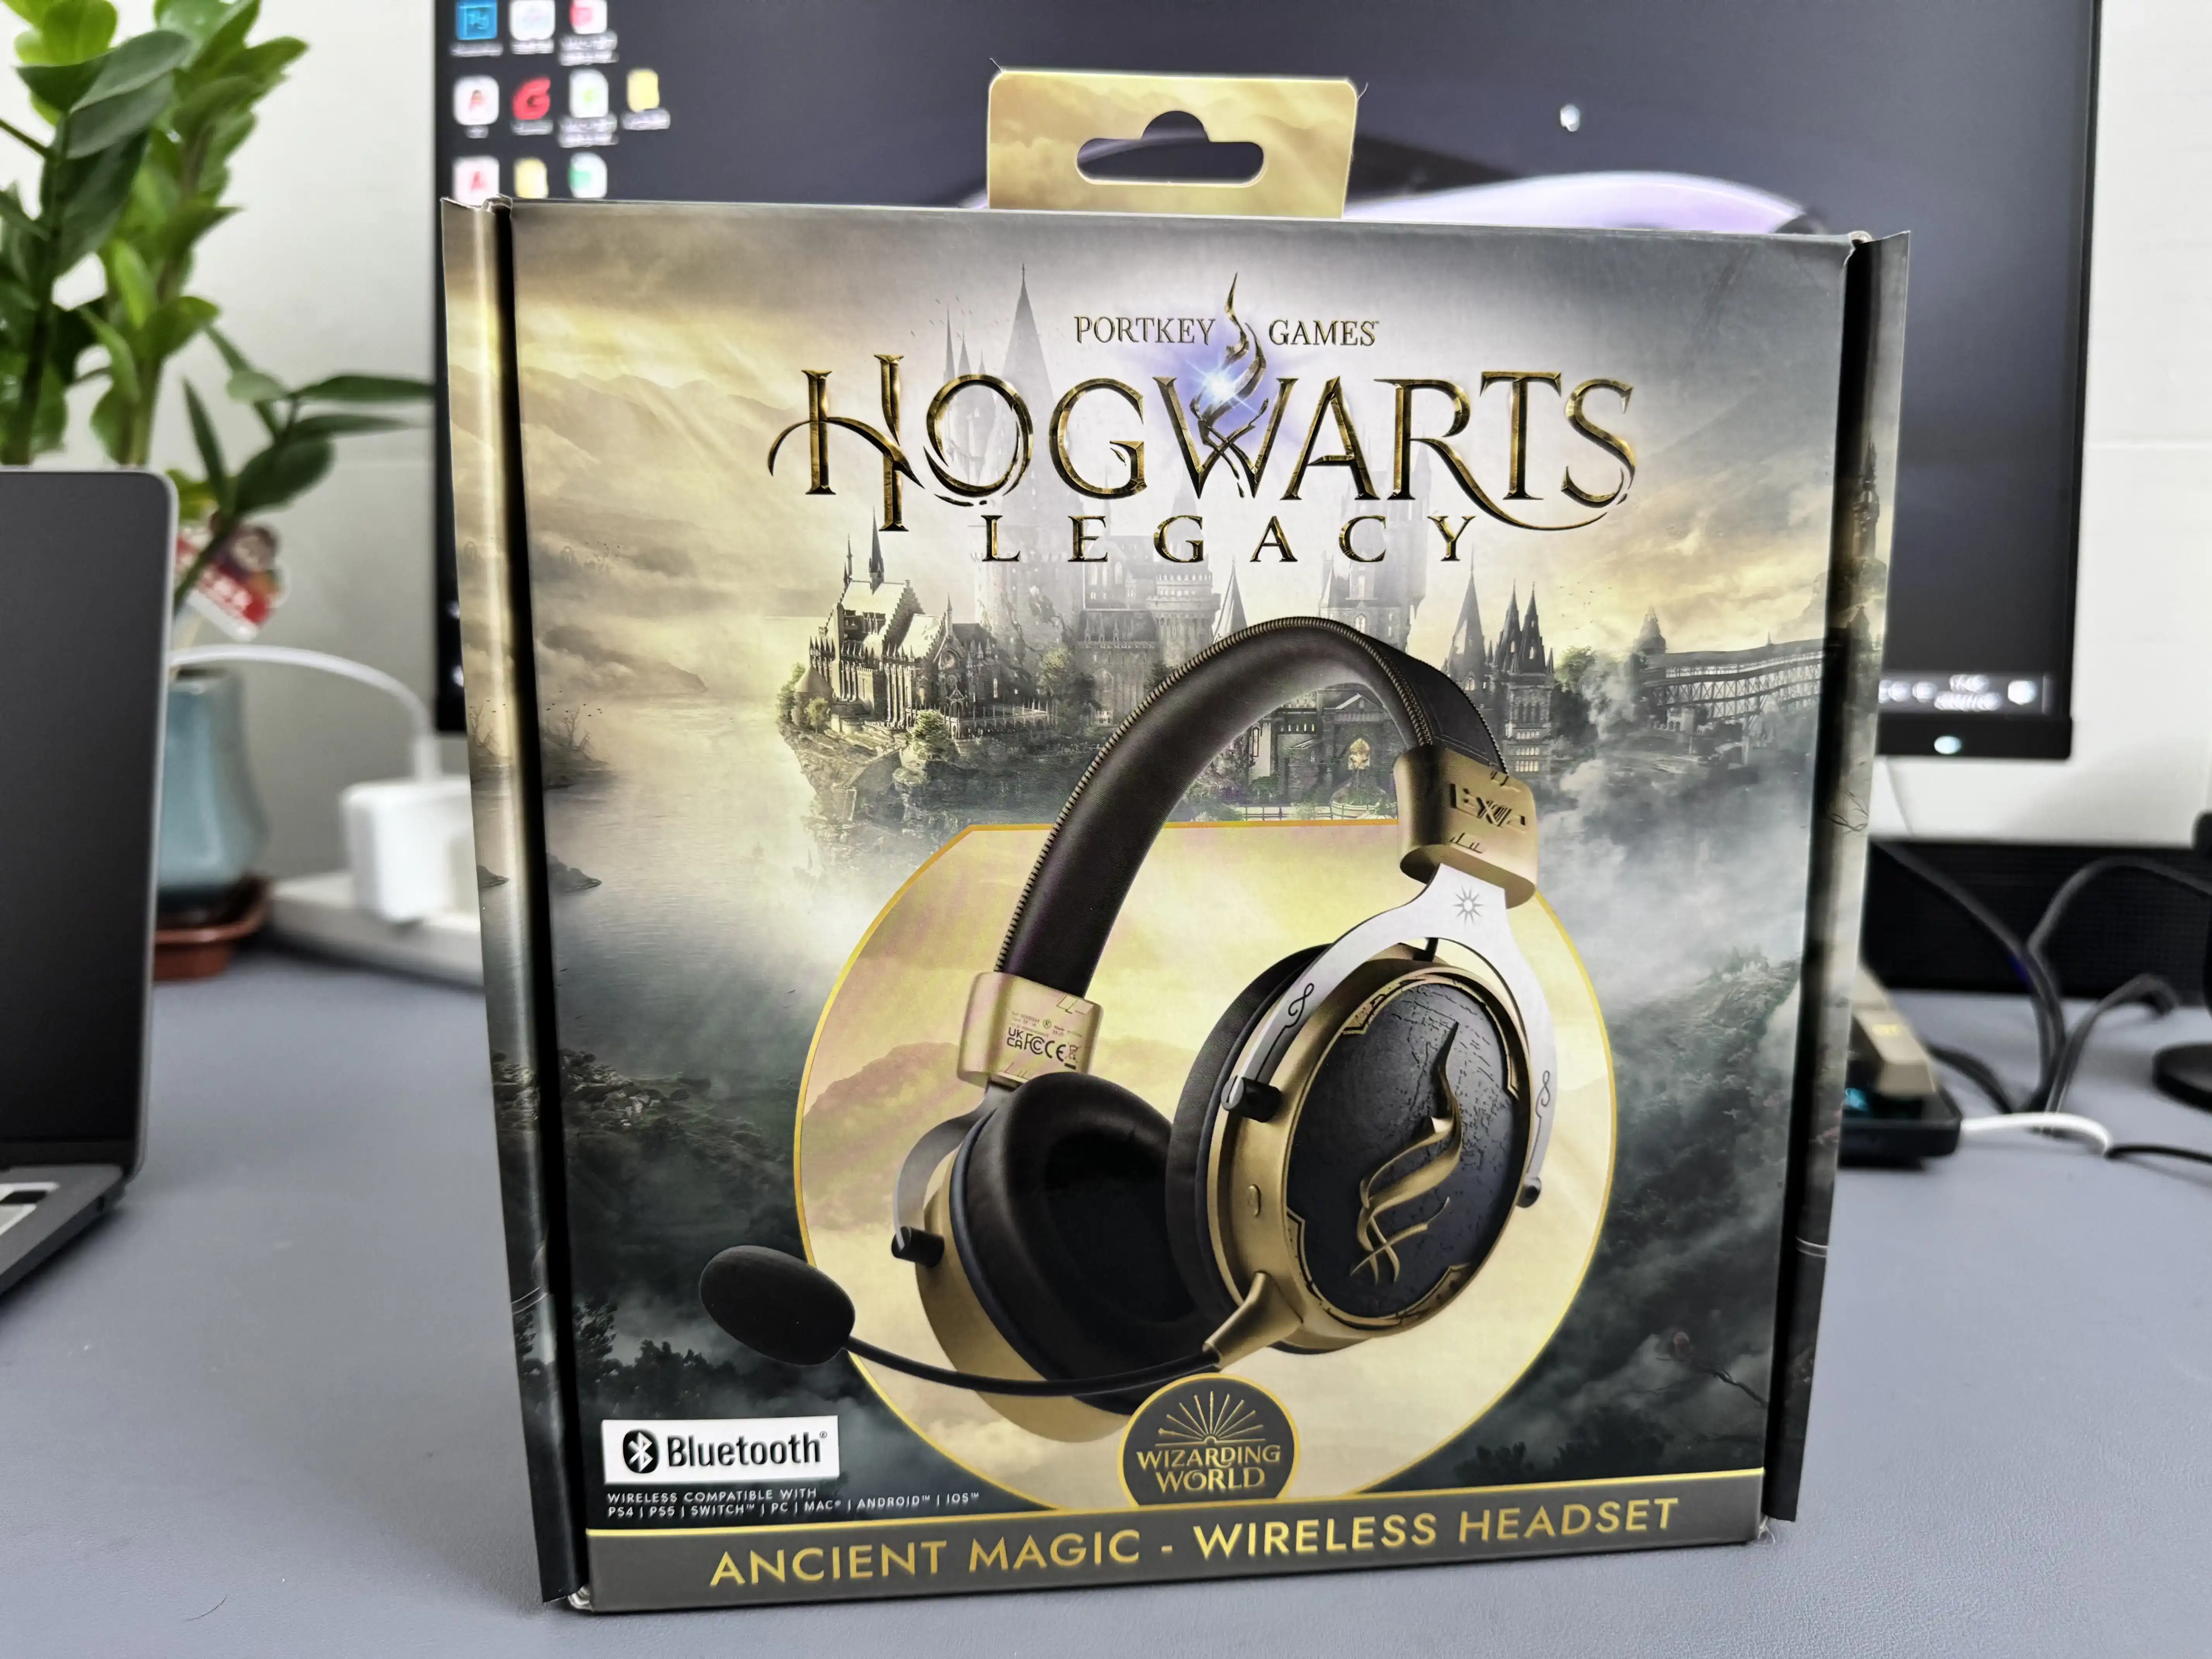
Packaging for a private-label 2.4GHz gaming headset should be planned as a controlled product system, not as artwork added after the headset is finished. The buyer must define how the headset, USB or Type-C transmitter, detachable microphone, charging cable, adapter, manual, warranty card, headset bag and accessory box are protected, presented and verified. Labels, barcodes and compatibility claims must also match the final product and target market.
A good packaging specification gives quotation teams a complete bill of materials, gives engineers fixed product dimensions, gives designers approved claims and gives production inspectors an objective pack-out standard. It also reduces a specific wireless-headset risk: the user receiving the headset but overlooking, damaging or losing the small transmitter required for the intended 2.4GHz connection.
Define the Packaging BOM Before Quotation
A packaging quotation is reliable only when every packed item, quantity, placement and approval responsibility is defined.
Start with a packaging bill of materials, or BOM, before comparing quotations. The BOM should separate the retail box, tray, inserts and printed materials from the product accessories. A drawing may show the visible structure, but it does not replace a controlled list of what must be packed.
The headset dimensions and folding position affect the tray. The transmitter, detachable microphone, cable and adapter need their own retention method. Printed components need revision numbers and language ownership. Buyer approval status prevents an early concept, an outdated barcode or an unapproved manual from entering mass production.
Quotation teams should identify which components require tooling, printing plates, color proofs or minimum material runs. These items influence commercial planning, but cost and minimum order quantity should be confirmed for the selected structure rather than assumed from a generic packaging type.
| Item | Quantity | Placement | Protection method | Artwork or label requirement | Buyer approval status |
|---|---|---|---|---|---|
| Headset | 1 | Main tray | Headband and earcups restrained without compression | Model and color must match box | Sample / approved / frozen |
| 2.4GHz transmitter | Project-defined | Visible dedicated recess | Connector protected; no free movement | Dongle label and connection mode | Sample / approved / frozen |
| Detachable microphone | Project-defined | Shaped pocket or accessory box | Boom and plug protected | Orientation or installation note | Sample / approved / frozen |
| Charging cable and adapter | As specified | Accessory compartment | Tied or sleeved; connectors separated | Cable type and adapter identification | Sample / approved / frozen |
| Manual and warranty card | Language set | Top insert or document pocket | Flat, visible and dry | Version, language and responsible party | Artwork approved |
| Headset bag | If selected | Around headset or separate compartment | Material must not mark surfaces | Logo and care information | Material and print approved |
| Retail box and labels | 1 set | Outer package | Board and finish selected for channel | Barcode, model, origin and market text | Dieline and proof approved |
Protect and Position the 2.4GHz Transmitter
The transmitter is a core functional accessory and should be visible, retained and protected as carefully as the headset.
A dedicated 2.4GHz gaming headset is different from a conventional Bluetooth-only headset because the intended low-latency path commonly depends on a USB or Type-C transmitter. If that small part moves inside the box, presses against the headset or disappears under an insert, the product can reach the user in apparently incomplete condition.
Place the transmitter in a visible recess or clearly marked accessory compartment. The retention feature should hold the body without loading the USB or Type-C connector. Avoid pack-out arrangements in which the connector supports the part, rubs against a hard tray or can be bent by pressure from cables.
The opening sequence matters. A buyer should be able to find the transmitter quickly, identify which port or adapter it uses and understand which product mode it enables. The manual should explain connection, host audio-device selection and any approved re-pairing method. Replacement-transmitter information belongs in after-sales planning even if it is not printed on the retail box.
The existing MACH guide to 2.4GHz gaming-headset USB receivers provides a deeper framework for receiver compatibility, pairing and replacement planning. Packaging should turn those technical decisions into a clear accessory location and first-use instruction.
Select the Box, Tray and Accessory Structure
Choose packaging by balancing protection, presentation, environmental goals, production complexity and the number of accessories.
A retail box provides branding and channel information, while the inner structure controls movement. Molded pulp can support a paper-led packaging direction and can be shaped around larger surfaces. PET trays can display the product clearly and provide repeatable pockets, but buyers should review material and recycling expectations for the target market. EVA can provide precise cushioning for premium packs, while cardboard inserts can reduce plastic use and tooling complexity when the geometry allows it.
An accessory box keeps the transmitter, cable, microphone and adapter together, but it must be secured so that it cannot move into the headset cavity. A headset bag can protect decorative finishes and support reuse, yet the fabric, print and drawstring should be checked for abrasion, odor and color transfer. None of these structures is automatically lower cost or more sustainable in every project.
Review the chosen structure with the actual headset weight, headband shape, earcup rotation and cable set. A tray that looks adequate in a rendering may compress cushions, force the headband into an unnatural position or allow decorative surfaces to touch during vibration.
| Structure | Potential benefit | Buyer trade-off to review |
|---|---|---|
| Molded pulp | Paper-led structure and shaped support | Surface finish, dimensional precision, tooling and moisture exposure |
| PET tray | Clear presentation and repeatable accessory pockets | Material policy, scuffing, recycling communication and tooling |
| EVA | Precise cushioning and premium presentation | Material use, odor, surface contact and cost structure |
| Cardboard insert | Flexible print and reduced plastic direction | Strength, assembly time, edge contact and movement control |
| Accessory box | Groups small parts and documents | Visibility, retention and missing-item inspection |
| Headset bag | Surface protection and reusable value | Fabric abrasion, print durability, odor and color transfer |
Verify Compatibility Claims Before Printing
Print only platform and connection claims that are supported by the approved configuration and actual device testing.
PC, PlayStation, Xbox, Nintendo Switch and mobile devices do not share one universal audio path. Compatibility can change with the transmitter connector, USB protocol, host firmware, controller jack, operating mode, adapter and microphone route. A headset working through 3.5mm on one console does not prove that its 2.4GHz transmitter supports every function on that console.
Create a compatibility matrix that names the device, connection mode, audio output, microphone input, controls and limitations. Approve packaging icons only after this matrix is signed off. Marketing shorthand should not remove a limitation that matters to buyers, such as microphone support, adapter use or a platform-specific connection path.
The brand should also confirm permission and presentation rules for platform names, logos or trademarks. Packaging approval is the last low-cost point to correct an unsupported claim; after printing, the same issue can affect inventory, listings, manuals and customer service.
Plan Labels, Manuals and Market Information
Label and manual content depends on the destination market, seller structure and final configuration; it should not be copied blindly from another model.
The packaging plan may need a model number, serial number, barcode, country of origin, importer or responsible-party information, battery information, recycling marks, regulatory marks and manual languages. Which items apply depends on the target market, the importer, the selected battery and transmitter, whether a charger is supplied and the product's legal scope.
Separate stable artwork from variable production data. Model and brand graphics may remain fixed, while serial numbers, batch codes, destination labels or importer details may change. Define where each item is printed, who supplies the data, how it is verified and whether it belongs on the product, box, carton, manual or an additional label.
The user manual should match the final buttons, indicators, modes and accessories. For a 2.4GHz headset, include transmitter connection, audio-device selection, charging, low-battery behavior and the approved pairing or reset process. Translations should be checked against the final English source rather than an obsolete sample manual.
- Model, variant and color identification
- Serial or batch-code rule
- Retail and logistics barcodes
- Country-of-origin wording
- Importer or responsible-party information where applicable
- Battery and charging information for the final configuration
- Applicable regulatory and recycling marks
- Manual language and safety-information plan
- Platform claims linked to a verified device matrix
- Master-carton marks and pack quantity
Use a Packaging Sample and Approval Workflow
Approve packaging in stages so structural, artwork and pack-out risks are found before mass printing.
Begin with written requirements and an accessory BOM. Prepare the dieline from confirmed product dimensions, then review artwork separately from structure. A white sample is useful for dimensions, opening sequence and accessory placement; it does not approve print color or surface finish.
Use a color proof to approve key brand colors, images, small text and finish references. Then assemble a fully packed sample using production-intent headset and accessories. This sample should be evaluated for handling, distribution risks and the user opening sequence before it becomes the golden sample.
The golden sample should identify artwork revision, component list, material direction and pack-out method. Production inspection can then compare real cartons with a controlled reference instead of relying on memory or photographs from an earlier concept.
| Stage | Primary decision | Approval evidence |
|---|---|---|
| 1. Requirement confirmation | Items, markets, channels and presentation goal | Approved packaging brief and BOM |
| 2. Dieline preparation | Dimensions, openings and print areas | Controlled dieline revision |
| 3. Artwork review | Claims, labels, languages and brand assets | Commented and approved artwork |
| 4. White sample | Fit, retention and opening sequence | Dimensional approval record |
| 5. Color proof | Color, images, text and finish | Signed proof or controlled color target |
| 6. Fully packed sample | Complete pack-out and user experience | Accessory and assembly checklist |
| 7. Distribution evaluation | Drop, vibration, abrasion and deformation risks | Recorded evaluation and corrective actions |
| 8. Golden sample | Final production reference | Signed sample and revision list |
| 9. Mass-production inspection | Consistency with the approval baseline | Inspection records and nonconformity control |
Validate the Fully Packed Product
Packaging validation should challenge the complete pack, not an empty box or an isolated tray.
Evaluate drop and vibration risks according to the shipment method, retail channel and agreed project plan. Check headband deformation, earcup scratching, cushion compression, cable movement, transmitter connector protection, accessory-box movement and missing components. The purpose is to find how damage can occur, not to claim an unsupported universal test standard.
Inspect appearance immediately after unpacking and again after the headset returns to its natural shape. Decorative surfaces, printed logos and soft-touch parts can show abrasion that is not visible through the outer carton. Confirm that cables do not press into cushions and that metal or plastic accessories cannot contact the earcups.
Pack-out validation should also include a count check. A complete BOM, visual workstation reference and final sampling inspection provide more control than a generic instruction to include all accessories. Any structure change after approval should be reviewed against the same risks.
- Outer-box crushing or opening
- Headband deformation after storage
- Earcup and decorative-surface abrasion
- Cushion compression and recovery
- Cable movement and connector contact
- Transmitter body and connector protection
- Microphone boom and plug protection
- Accessory count and correct variant
- Manual, warranty card and labels present
- Pack-out consistency against golden sample
WH6 Korea OEM Packaging Example
The WH6 project illustrates why packaging must be coordinated with the actual transmitter, microphone, color variants and buyer-supplied artwork.
In the published WH6 Korea OEM project, the buyer supplied retail-packaging files and required customized user-manual support. The pack-out scope included a Type-C transmitter, detachable microphone, headset bag and accessory-box planning, together with black and white product versions.
Those verified facts show the coordination problem without claiming an invented cost, order minimum or test result. The transmitter and microphone needed identifiable locations, the manual had to reflect the selected interface and product functions, and the two color versions required controlled artwork and variant matching.
For a similar project, the useful lesson is to freeze the product, accessory and packaging revisions together. A box approved around an early transmitter, old manual or single color can become incorrect even when the headset shell has not changed.
Packaging RFQ Checklist
A packaging RFQ should let the supplier quote the complete pack and identify missing decisions before sampling.
Send the checklist with product drawings or a confirmed sample. Mark undecided items clearly instead of filling gaps with assumptions. Ask the supplier to identify tooling, printing, assembly and validation dependencies before the packaging price is treated as final.
MACH industry supports packaging coordination as part of an agreed OEM/ODM project. Packaging capability and compliance support depend on the final product configuration, target market and approved scope.
- Target countries and sales channels
- Headset model, dimensions, weight and folding state
- Transmitter type, quantity and adapter set
- Microphone, cable and optional accessory list
- Retail-box style and inner-structure preference
- Headset bag or accessory-box requirement
- Logo, colors, finish and controlled artwork files
- Barcode, serial-number and label data
- Manual languages and warranty-card content
- Verified platform compatibility statements
- Environmental or material objectives
- Sample stages, validation plan and approval owners
Plan a Complete Gaming Headset Pack-Out
Share the final headset configuration, transmitter, accessories, target markets and artwork responsibilities so MACH industry can review the packaging BOM and sample plan.
Discuss Packaging RequirementsFrequently Asked Questions
What packaging files should a private-label buyer provide?
Provide the approved logo, brand colors, dieline artwork, barcode data, model and serial-number rules, market-specific label text, compatibility claims, manual languages, importer information where applicable, and a list of every accessory. If the supplier prepares the dieline, the buyer should still provide controlled artwork and written approval responsibilities.
When should packaging development begin for a 2.4GHz gaming headset?
Start the packaging bill of materials during product definition, then freeze dimensions after the headset, transmitter, microphone, cables and adapters are stable. Final artwork should not be released until compatibility wording, labels and the fully packed sample have been reviewed.
How should a USB or Type-C transmitter be protected?
Give the transmitter a dedicated, visible pocket or recess that prevents movement and avoids pressure on the connector. The pack-out instruction should identify its location, and the manual should explain connection, device selection and any approved re-pairing procedure.
Can one retail package be used in several markets?
Sometimes, but only after reviewing language, importer or responsible-party information, regulatory marks, recycling information, battery statements, barcodes and compatibility claims for every destination. A shared box may still need market-specific labels, manuals or inserts.
Which packaging structure is best for a wireless gaming headset?
There is no universal best structure. Buyers should compare protection, presentation, product weight, accessory count, environmental targets, tooling implications, order volume and assembly complexity before choosing molded pulp, PET, EVA, cardboard inserts or another solution.
What should be approved before mass production?
Approve the packaging BOM, dieline, artwork, colors, labels, manual, accessory placement, fully packed sample, pack-out instruction, validation plan and a signed golden sample. The approved version should match the final product and transmitter configuration.
Should platform compatibility icons be printed before testing?
No. Platform names, icons and compatibility statements should reflect verified functions on named devices and connection modes. Trademark use and platform-specific wording also require buyer review before printing.
How can buyers reduce missing-accessory complaints?
Use a controlled packaging BOM, dedicated accessory locations, visual pack-out instructions, line checks and final sampling. Small items such as transmitters and adapters should be visible or clearly signposted rather than hidden beneath the tray without explanation.
Related Resources
Need OEM/ODM gaming audio solutions?
Contact MACH Industry to discuss your gaming headset, gaming earbuds, or private-label audio project.
Contact MACH Industry